

Adding a herringbone kitchen backsplash to your culinary space can instantly elevate its style and charm. The intricate design of the herringbone pattern brings a touch of elegance and visual interest to your kitchen. If you’re a DIY enthusiast looking to enhance your kitchen’s aesthetics, follow our step-by-step guide on how to install herringbone backsplash. With a little patience and precision, you can achieve a stunning herringbone pattern that’s sure to impress. If you are looking for home improvement ideas to transform your space? Consider incorporating beautiful herringbone kitchen backsplash patterns for a stunning and unique touch.
Understanding the Herringbone Pattern
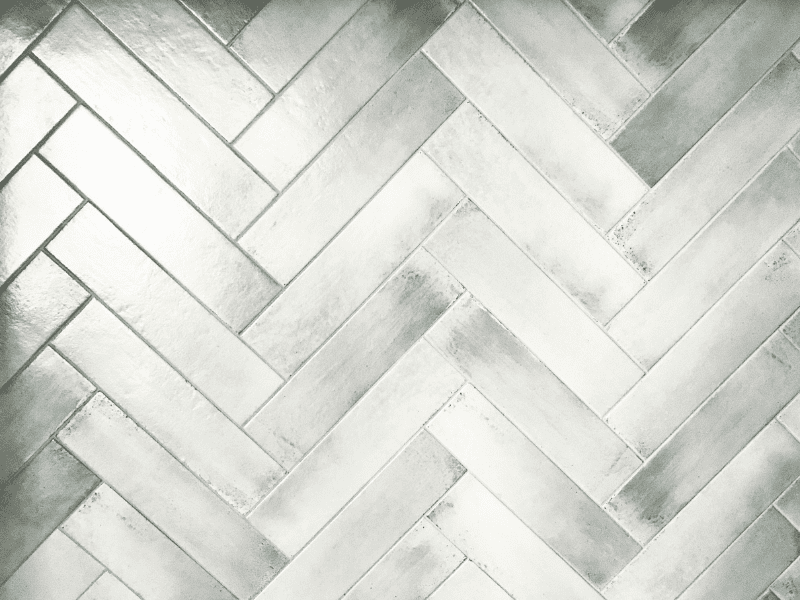
Before diving into the installation process, let’s briefly understand what the herringbone pattern entails. The herringbone pattern is a popular zigzag arrangement where rectangular tiles are laid out diagonally in a V-shaped configuration. This creates a dynamic visual effect that adds depth and dimension to the space. And Backsplash protects walls from splashes and spills of your food.
What You'll Need
Before you start, assemble the essential instruments and materials:
• Tile Saw or Tile Cutter: To cut tiles as needed.
• Notched Trowel: For applying adhesive.
• Tile Spacers: To ensure even spacing between tiles.
• Grout Float: For applying grout.
• Level: To ensure tiles are straight.
• Grout and Grout Sealer: To fill gaps between tiles and protect them.

Steps to Install Herringbone Backsplash
1. Prep the Surface
Guarantee that the wall surface is perfect, dry, and smooth. Apply a coat of primer if needed to create a solid base for the adhesive.
2. Plan the Layout
Determine the starting point for your herringbone pattern. You can start from the center of the wall or a focal point like the range hood. Mark reference lines to guide your tile placement.
3. Apply Adhesive
Use a notched trowel to spread thin-set adhesive on a small section of the wall. Work in small areas to prevent the adhesive from drying too quickly.
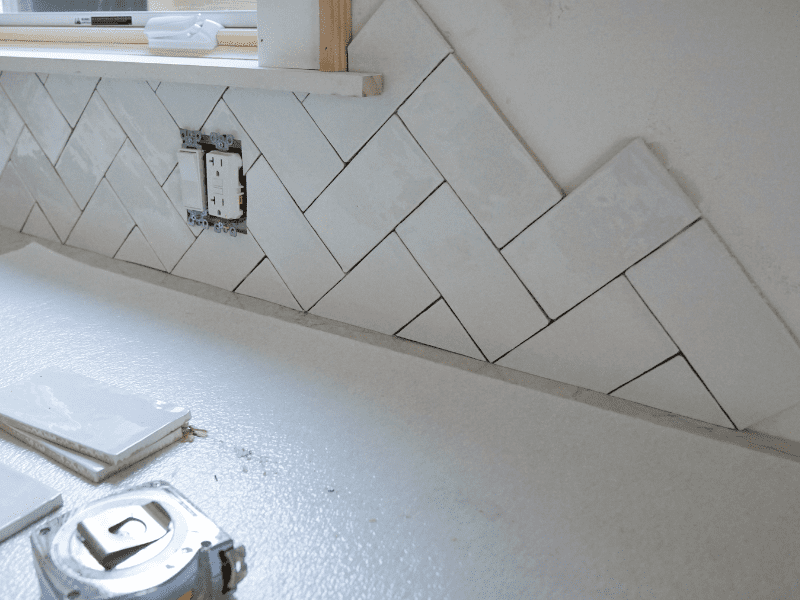
4. Place the Tiles
Begin placing tiles along the reference lines. Position the first tile at a 45-degree angle and press it into the adhesive. Continue placing tiles in a V-shape, alternating the direction with each row.
5. Cut Tiles as Needed
At the edges and corners, you’ll likely need to cut tiles to fit. Use a tile saw or cutter to make precise cuts. Make sure to wear well-being goggles while cutting tiles.
6. Maintain Even Spacing
Insert tile spacers between the tiles to maintain consistent spacing. This is crucial for achieving a polished look.
7. Allow Adhesive to Dry
Let the adhesive dry according to the manufacturer’s instructions before moving on to the grouting step.
8. Apply Grout
Mix the grout according to the package instructions. Utilize a grout float to spread the grout corner to corner across the tiles, squeezing it into the holes.
9. Wipe Off Excess Grout
After the grout has been set for a while, use a damp sponge to wipe off the excess grout from the tile surfaces. Be careful not to remove grout from the gaps.
10. Seal the Grout
Once the grout has fully dried, apply a grout sealer to protect it from stains and moisture.
Tips for Success
- Precision is Key: The herringbone pattern requires accurate placement of tiles to achieve its signature look. Take your time and ensure each tile is properly aligned.
- Plan Ahead: Calculate the number of tiles you’ll need before starting the installation to avoid any delays.
- Practice Cutting: If you’re new to using a tile saw or cutter, practice on a few spare tiles to get the hang of it.
Conclusion
Installing a herringbone pattern kitchen backsplash can seem like a daunting task, but with the right tools, preparation, and patience, it’s a project that any DIY enthusiast can tackle. The end result will be a breathtaking herringbone design that adds a touch of sophistication and character to your kitchen space.
Give your kitchen a touch of elegance with beautiful herringbone kitchen backsplash patterns. For a cozy yet stylish addition, consider an oak slab countertop. It’s a unique way to upgrade your kitchen space.
So, go ahead and transform your kitchen with the timeless elegance of a herringbone backsplash. Remember, while the process may take a bit of time and effort, the satisfaction of creating a beautiful focal point in your kitchen will be well worth it.