
Cream polish on concrete floor is a fantastic way to enhance the beauty and durability of your concrete surfaces. Whether you’re aiming for a cream polished concrete floor, exploring concrete polish levels, or considering colored polished concrete flooring, this comprehensive guide will walk you through the process. We will delve into the steps involved, the tools you’ll need, and some essential tips to achieve a beautifully polished concrete floor.
Understanding Cream Polish on Concrete Floor
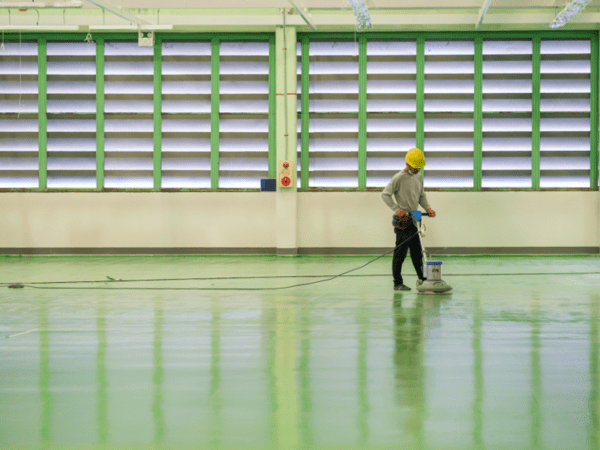
Cream polish is a finishing technique that transforms plain concrete into a glossy, polished surface. It involves the use of diamond abrasives to grind and refine the concrete’s surface, resulting in a high-gloss finish. This method not only enhances the aesthetics of your floor but also increases its durability and longevity.

Materials and Equipment You'll Need
Before you embark on your cream polish journey, gather the following materials and equipment:

Concrete Grinder:
A quality concrete grinder with diamond abrasives is essential for achieving a smooth and polished finish.
Dust Extraction System:
To minimize dust and keep your work environment clean and safe.
Concrete Densifier:
A densifier helps harden the concrete and prepare it for polishing.
Concrete Polish:
Choose the appropriate cream polish for your desired level of shine.
Concrete Sealer:
A sealer helps protect the polished surface and enhances its longevity.
Safety Gear:
Safety goggles, a dust mask, and ear protection are a must when working with concrete and heavy machinery.
Respirator:
To shield yourself from breathing in dust particles.
Protective Clothing:
Wear appropriate clothing to shield yourself from dust and debris.
Steps to Apply Cream Polish on Concrete Floor
Now, let’s walk through the steps to achieve that stunning cream polished concrete floor:
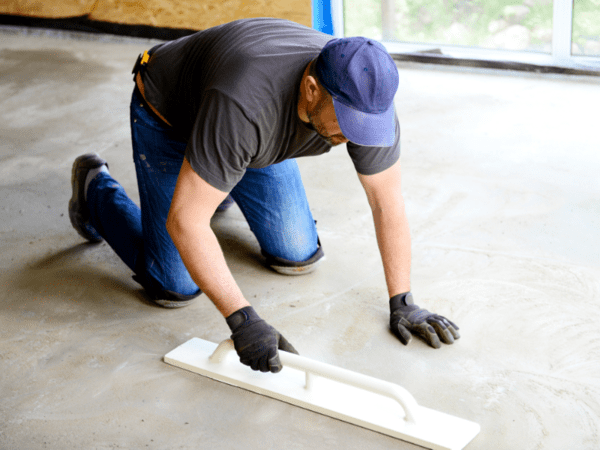
1. Prepare the Surface:
Begin by completely cleaning the substantial surface to eliminate any soil, residue, or garbage. Repair any cracks or imperfections using a suitable concrete patch or filler. Ensure the surface is dry before proceeding.
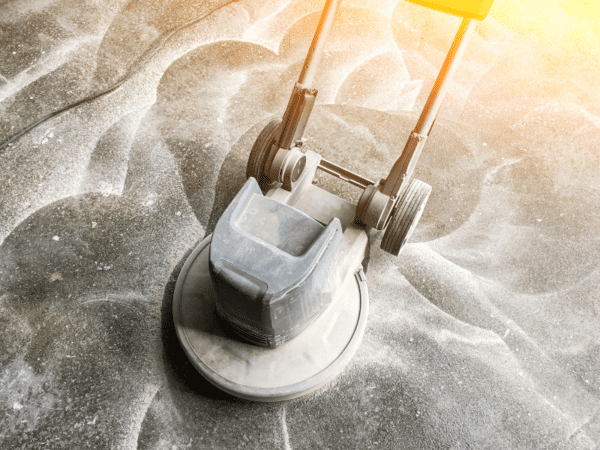
2. Grinding the Concrete:
Begin with a coarse diamond abrasive to grind the concrete surface. This step removes any existing coatings or blemishes.
Gradually move to finer abrasives to achieve the desired level of smoothness.
Continue grinding until the surface is uniformly smooth and free of imperfections.
3. Apply Concrete Densifier
After grinding, apply a concrete densifier to the surface. This product will penetrate the concrete, making it harder and more resistant to wear.
Allow the densifier to dry as per the manufacturer’s instructions.
4. Start Polishing
Attach a series of progressively finer diamond abrasives to the concrete grinder.
Begin the polishing process, moving the grinder in a slow, circular motion.
Ensure even coverage across the entire surface.
5. Gradual Progression
Continue with the polishing process, gradually switching to finer abrasives.
Check the level of shine and smoothness periodically to determine when you’ve achieved the desired finish.
Typically, there are different levels of polish, from a matte finish to a high-gloss shine. Pick the one that suits your tendency
6. Apply Cream Polish
Once you’ve reached your desired level of polish, it’s time to apply the cream polish.
Follow the manufacturer’s instructions for mixing and applying the cream polish.
Usually, you’ll need to use a low-speed buffer or a polishing machine to evenly distribute the polish.
7. Seal the Surface
To protect your beautifully polished concrete floor, apply a concrete sealer.
Permit the sealer to dry totally prior to utilizing the floor.
8. Maintain Your Polished Concrete Floor
Regular maintenance is essential to keep your cream polished concrete floor looking its best. Clear or vacuum consistently to eliminate soil and residue. You can also use a damp mop with a pH-neutral cleaner to clean the surface.
Essential Tips and Considerations
When considering colored polished concrete floors, choose a stain or dye that complements your decor and preferences.
The level of shine or gloss on your cream-polished concrete floor can vary, so be clear about your desired outcome before you begin.
Proper surface preparation and the use of the right diamond abrasives are crucial for achieving a polished finish.
Be mindful of safety precautions, especially when working with heavy machinery and concrete dust.
Conclusion
A cream-polished concrete floor can transform your space, adding elegance and durability. Whether you’re aiming for a high-gloss finish, exploring colored options, or considering different concrete polish levels, following the steps outlined in this guide will help you achieve a stunning result. With the right tools, materials, and techniques, your polished concrete floor can become a long-lasting and beautiful addition to your home or commercial space. So, roll up your sleeves, and get ready to enjoy the benefits of a cream-polished concrete floor that shines with sophistication and charm.